J.K. Rowling describes everything in such detail in her Harry Potter books, including the food and drinks that Harry and his friends consume, so not only did I have great fun with the decorations for the Hogwarts Celebrations, but I had a fabulous time planning the party food, too!
Here are the recipes for everything served at the Hogwarts Celebration. Enjoy!
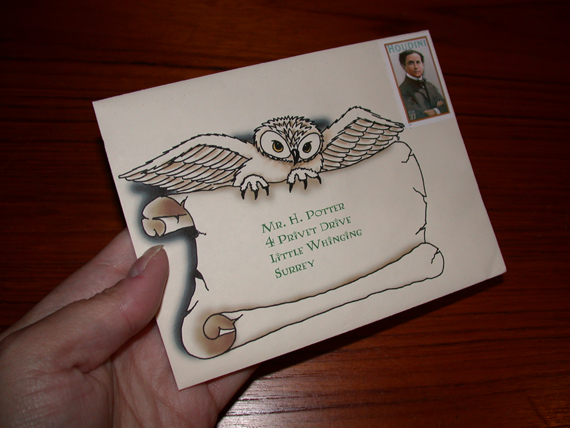
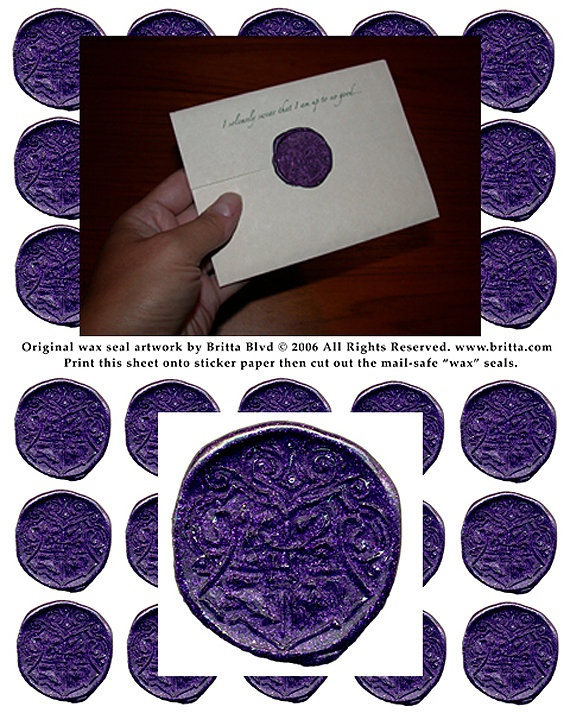
My Chocolate Frog Box & Card set, Bertie Botts Boxes, Owl Holding Scroll image, Hogwarts wax seal stickers, and other items are now for sale at my Etsy store.
Makes about 2 dozen miniature tarts.
9 oz pie crust pastry (enough for two single standard pie crusts)
approximately 11 tablespoons black treacle (can use golden syrup if desired)
1 heaping teaspoon ground ginger, optional
4 oz unseasoned breadcrumbs
After greasing the pan first, line each cup of a miniature muffin baking pan with the pastry, rolled as thin as possible. Warm the treacle in a saucepan. Add the ginger and stir in the breadcrumbs. Spoon the breadcrumb mixture into each pastry cup only about 2/3rds full. Bake for 15-20 minutes, watching closely so the crust edges do not burn.
(I found this Treacle Tart recipe online and adapted it to make miniature individual Treacle Tarts with the black treacle I found at my local British food shop. I also used miniature fluted brioche pans/sandbakkel tins so the crust looked more like a fluted tart crust. Also, be careful, since the breadcrumbs are given by weight, not by fluid ounces, and breadcrumbs are very light. Since I do not have a food scale, I eyeballed it by stirring in breadcrumbs until it looked like the mixture would hold together, and I think I ended up with at least 2 cups. Both golden syrup (less bitter taste - inbetween honey and light corn syrup) and black treacle are usually only found in British food shops. Theoretically, dark molasses could be substituted for black treacle, but the taste is different, so if you don't have a local British food shop, try online, since treacle and golden syrup don't need to be refrigerated and last quite awhile.)
2 eggs, slightly beaten
3/4 cup sugar
1 1 lb. can pumpkin
(or 2 cups fresh, roasted in the oven then pressed through a strainer to save your Pumpkin Juice to drink!)
1/2 tsp. salt
1 tsp. cinnamon
1/2 tsp. ginger
1/4 tsp. cloves
1 2/3 cups evap. milk (1 can)
1/2 tsp. allspice
9 oz pie crust pastry (enough for two single standard pie crusts)
Bake the pie filling only (no crust) in a large casserole dish in hot oven (425 degrees) for 15 minutes.
Keep oven door closed and reduce temp to moderate (350 degrees F/180
degress Celsuis) and continue baking for 45 minutes or until table knife
inserted in center of dish comes out clean. Cool on wire rack.
Make or purchase pie crust pastry. Roll thin and cut into circles approx
4" in diameter. Put a spoonful of the cool pumpkin mixture towards one
side of the center of the circle. Fold over the crust into a half-circle
and firmly crimp the edges closed. Slice three small slits in the top for
venting, place on a greased cookie sheet, and bake only until crust is a
light golden-brown. Great served at room-temperature, then you don't
have to worry about your guests possibly burning their mouths from the
steaming hot pumpkin inside! :)
I originally was going to make my own Chocolate Frogs using the same candy mold as the Peppermint Toads, but when Trader Joe's was selling these Chocolate Frogs (with Pop Fizz action!) for only $2 for 20 frogs, I went ahead and bought them!
Melt the white chocolate according to the instructions. Take a
licorice stick and dip it into the white chocolate to make a wand
handle. Set the hollow licorice stick over a wooden skewer so the
chocolate handle hardens straight at room temperature. These can be
frozen, just thaw before serving.
frog or toad chocolate candy mold
white chocolate candy melts
peppermint candy flavoring oil
(chocolate chips or other chocolate)
Since I had so much brown chocolate already, I decided my Peppermint Toads
would be white. You can use food coloring to make the white candy melts
any color you'd like. Melt the white chocolate according to the
instructions. Use a toothpick to add peppermint oil drop by drop until
you have the desired taste. Be careful, since the peppermint oil is VERY
strong! Spoon the flavored chocolate mixture into the candy mold and let
harden in the refrigerator. When solid, pop out your toads and add the
eyes with a small paintbrush and melted chocolate chips. These can be
frozen, just thaw before serving.
Melt your chocolate until smooth. Stir in noodles until the mixture is
thick enough to hold together. Spoon bite-sized clusters onto wax paper
and let harden in the refrigerator. If you want longer-lasting candy,
melt 1 stick cooking paraffin per 12 oz of chocolate before adding the
noodles. These can be frozen, just thaw before serving.
Your favorite devils food cake recipe, made into cupcakes
black string licorice
Bake your cupcakes according to the instructions, without using paper
cup liners. Slice off the top of the crown of each cupcake so that when
it is turned upside down, it sits flat. This gives you more of a cauldron
shape than a cupcake shape. Cut the black string licorice into small
pieces and poke them into the cupcakes as cauldron handles.
Way-Sour Charms Blow Pop lollipops
Pop Rocks (whatever flavor you choose)
The combination of the "super-sour" taste, already very acidic, with the
surprise of the "pops" from the Pop Rocks, makes these just like what I
imagine Acid Pops to be!
My lollipops were sticky enough that I just unwrapped them, rolled them in
the Pop Rocks, then wrapped them in plain wax paper squares. My only
warning is that the Pop Rocks immediately start losing their "pop" when in
contact with the moisture in the lollipops, so assemble these as close to
serving as possible for the best effect.
Why bother worrying about making these when Jelly Belly makes them for you? The new flavors including Vomit
had just been released when Professor
Freitas (Thanks, Anne!) went by the Jelly
Belly factory in Fairfield, CA, and purchased these Bertie Botts Beans in bulk. The only problem was that I did
not realize the flavor guide was on the bag that ended up in the trash, so
we did not know what Vomit or Booger was supposed to look like...so it was
really "at your own risk" for eating these! :)
small Brie cheese round
packaged puff pastry sheet
Wrap the pastry sheet around a small round of Brie cheese, sealing the raw
edges together underneath. Brush with milk for nice browning. Place on
greased foil on a cookie sheet and bake in the over at 400F for 15
minutes, or until crust is golden brown. Serve with a spreader and your
preferred assortment of crackers.
I decided to use my pastry scraps to make the Hogwarts shield with the H
on top of my Brie. Everyone liked the shield so much, they ate AROUND it
and left it there alone on the plate! haha...
You can add to the layer between the pastry and the Brie if you like. My
favorite is apricot preserves with dried cranberries, but the cranberries
make it lumpy, so that could mar your design, which is why I left this one
plain.
Usually I serve sliced cheese with a cracker assortment, but I found these
great toothpicks that were gold and silver star-tipped wands, so I had to
figure out some way to feature them, hence the cubed cheese. Beldar
McNabb (Thanks, Kael!) was kind enough to build this "Fortress du
Fromage" for me!
Choose the fruit you like (tropical is excellent - the more unique the
better - this is Herbology you know!) and that lend themselves to
party-sized portions. Arrange it all artistically on unique garnish, or
have your house-elf Leezy
(Thanks, Lisa!) arrange it for you. Set up in
your Herbology classroom amongst real and artificial plants and enjoy!
white mushrooms
button mushrooms
red, yellow and orange bell peppers
carrots
broccoli
snap peas
Choose the vegetables you like and that lend themselves to party-sized
portions. Arrange it all artistically on unique garnish (this is
Herbology you know!), or have your house-elf Leezy (Thanks, Lisa!) arrange
it for you. Set up in your Herbology classroom amongst real and
artificial plants and enjoy!
1 cup butterscotch schnapps
7 cups cream soda (almost one 2 liter bottle)
Carefully mix just before serving, adding the schnapps to the soda then
stirring gently to mix well, or the fizz will dissipate too soon.
You can also find butterscotch flavoring near the vanilla flavoring in the
baking section of the grocery store, but it is more difficult to find, and actually the flavoring is 35% alcohol where the schnapps is only 15% alcohol by volume, so if you're making large quantities of
butterbeer, I recommend just to buy the schnapps. There is not much alcohol content in
the butterbeer mixture, just enough to make a house-elf tipsy and to give
it the warm, buttery aftertaste to the fizzy cream soda. Yum! :-9
(I did make a refill batch during the party using 1 cup schnapps to a
whole 2 liter bottle of cream soda, which was ratio of 1 to 8, but people tasted the difference and complained, so fair warning!)
Bake your Halloween jack o'lantern in the oven.
(watch the face distort and shrink - it's fun!)
Strain your pumpkin, saving the juice separately from the strained
pumpkin.
Serve your chilled pumpkin juice to your guests!
This takes a good hour or two, depending on the size of your jack
o'lantern, so keep checking your pumpkin as it is baking. Use a cookie sheet underneath so you can easily take the hot mushy pumpkin out of the oven and to catch any drippings. If your
pumpkin was not carved, cut it in half before baking, otherwise it could
explode and make a GIGANTIC mess! You will see that the juice separates
from the pumpkin flesh as it starts to bake, so spoon off this juice
periodically and save it so it doesn't leak all over your oven. Once your
pumpkin flesh has baked long enough to be good and soft, remove from
the oven and let it cool. Scoop the pumpkin flesh from the skin into a
strainer with a container underneath. Use a spoon to squeeze out the juice
from the pumpkin, so you have as "solid" a puree as possible, which you
should save for your Pumpkin Pasties, pumpkin bread,
or your favorite pie recipe.
Ironically, this is always how I strained my pumpkin after baking, since
if you don't, you end up with a very watery pumpkin pie, but I always just
discarded the pumpkin juice before. Now I freeze my pumpkin and pumpkin
juice separately in plastic containers, and they can keep over a year in
the freezer quite well. After thawing the pumpkin, you can strain again
for even better results (and more pumpkin juice!) since during freezing,
the ice crystals were separated from the pumpkin naturally.
I did try using pumpkin pie spice mixture to flavor my juice, but I
thought the flavor was too strong. I actually prefer plain, unsweetened
pumpkin juice, since it is quite refreshing and tastes a bit like iced
tea. My guests liked the Butterbeer much better
though! ;)